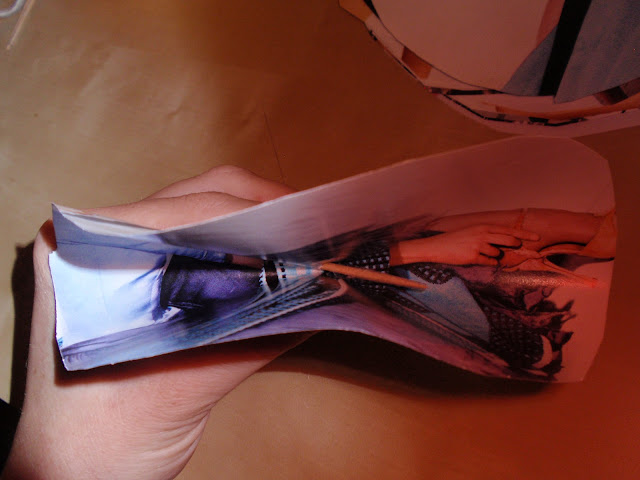
I've finally finished making a recycled paper flower ball! It turned out really nicely although it was had labour! And to think that theoretically I would like to make at least 10 of these for the wedding! I HAVE to get all my arts and crafty friends (anyone that can be bothered really, they don't need to be particularly talented).
I bought a Styrofoam ball with a radius of 7cm. I thought it was tiny when I bought it but I thought I might as well try with a small one to see how it goes. A 7cm radius ball ends up being a ball with a diameter of 16cm, that means 32 diameter, which is actually quite big. (Even too big?).
You will need (for one ball):
- 1 Styrofoam ball with a radius of 7cm. It can be bought in most arts and craft shops, even flower shops (note: not the green balls that they usually have).
- An old A4 size magazine with a lot of colourful pictures. You will need 150 pages.
- A pair of scissors
- A compass (or an object that has a radius of 7cm, such as a bowl or lid).
- A cutter (you can even use the scissors).
- Sticky tape
- 50 Toothpicks (either normal or party toothpicks in order to save some time).
- 1 thin ribbon in a colour of your choice and in whatever length you need. Consider that the minimum that it needs to be to even come out of the ball will be about 50cm.
- 6 small pins.
In order to do this in the most time efficient way (although, I will warn for it being tiresome!):
1) Use the cutter or scissors and cut the paper of the magazines from the cover
2) Set your compass to 7cm and draw two circles on a magazine page. The first one in the top left corner and the second on in the bottom right corner. Using an A4 size magazine the two circles will just touch.
3) Put a pile of magazine papers together, with the one with the two drawn circles as the outer page and cut out the circles. You are going to need around 300 circles, which means cutting 150 pages of magazines.
4) Cut 1,5 cm strips of sticky tape and put them on the edge of the table. Do as many as you can fit. You will need 2 strips per flower if you are using normal toothpicks or 1 strip per flower if using party toothpicks.
4b) Wrap a piece of sticky tape around the bottom part of your toothpicks
5) Poke the toothpick through the centre of your your first circle from above. Put your toothpick to one side and fold the paper around the toothpick a few times. Your first one should be wrapped rather tightly.
6) Pock the toothpick through your second piece of paper and wrap it like the first one, only a bit less tightly.
7) Follow step 6 with your third piece of paper. Pinch the bottom part of your paper and put a piece of sticky-tape around the bottom of the paper, slightly overlapping on the toothpick.
Your first flower is done! Continue these steps until you have 100 flowers (I never said it was easy).
To make a flower it took me about 30seconds if I already had everything ready, as in papers cut into circles and sticky-tape on the end of the toothpick. That means about an one hour to do all the flowers. Although at the beginning I was much slower. Cutting the paper and sticky-tape etc I think must've taken about 2 hours. So a total of 3 hours work!
8) Take your ribbon and wrap it around the styrofoam ball and pin it down with about 6 pins.
9) Start inserting the flowers into your ball all around the circumference of the ball. The second row will be on either sides of this, until you reach the polars of your ball. If there are any empty spaces add extra balls. I but mine rather tightly. It also depends on how largely you make the flowers. I realised towards the end that I wouldn't have needed to make them so tight.


No comments:
Post a Comment