Showing posts with label cheap. Show all posts

November 24, 2013

DIY Christmas decorations _ Christmas stars / flowers

CHRISTMAS STARS / FLOWERS

This must be one of the easiest, yet cute decorations to make! Each star takes 2min to do and the cost is basically 0.
You'll need:
1 toilet paper roll per star (or decorative paper)
scissors
stampler
thread
hole punch

1. Cut the toilet role into 6-8 pieces (each one is around 1 cm thick). Each circle will be a petal
2. Staple two circles together at the bottom of each one. You will now have 4 pairs.
3. Start stapling  the pairs together.
4. Punch a hole in one of your "petals" and thread a thread through the hole. Make it as long as you wish depending on if it will be a Christmas tree decoration, or as part of a garland.
DONE!
----
If you are using decorative paper instead of a toilet paper role you'll have to add a step.
You will have to hold the circles in place when stapling the pairs together, as each one won't be a circle, but only a strip. It just takes a little extra patience, but it isn't too complicated.
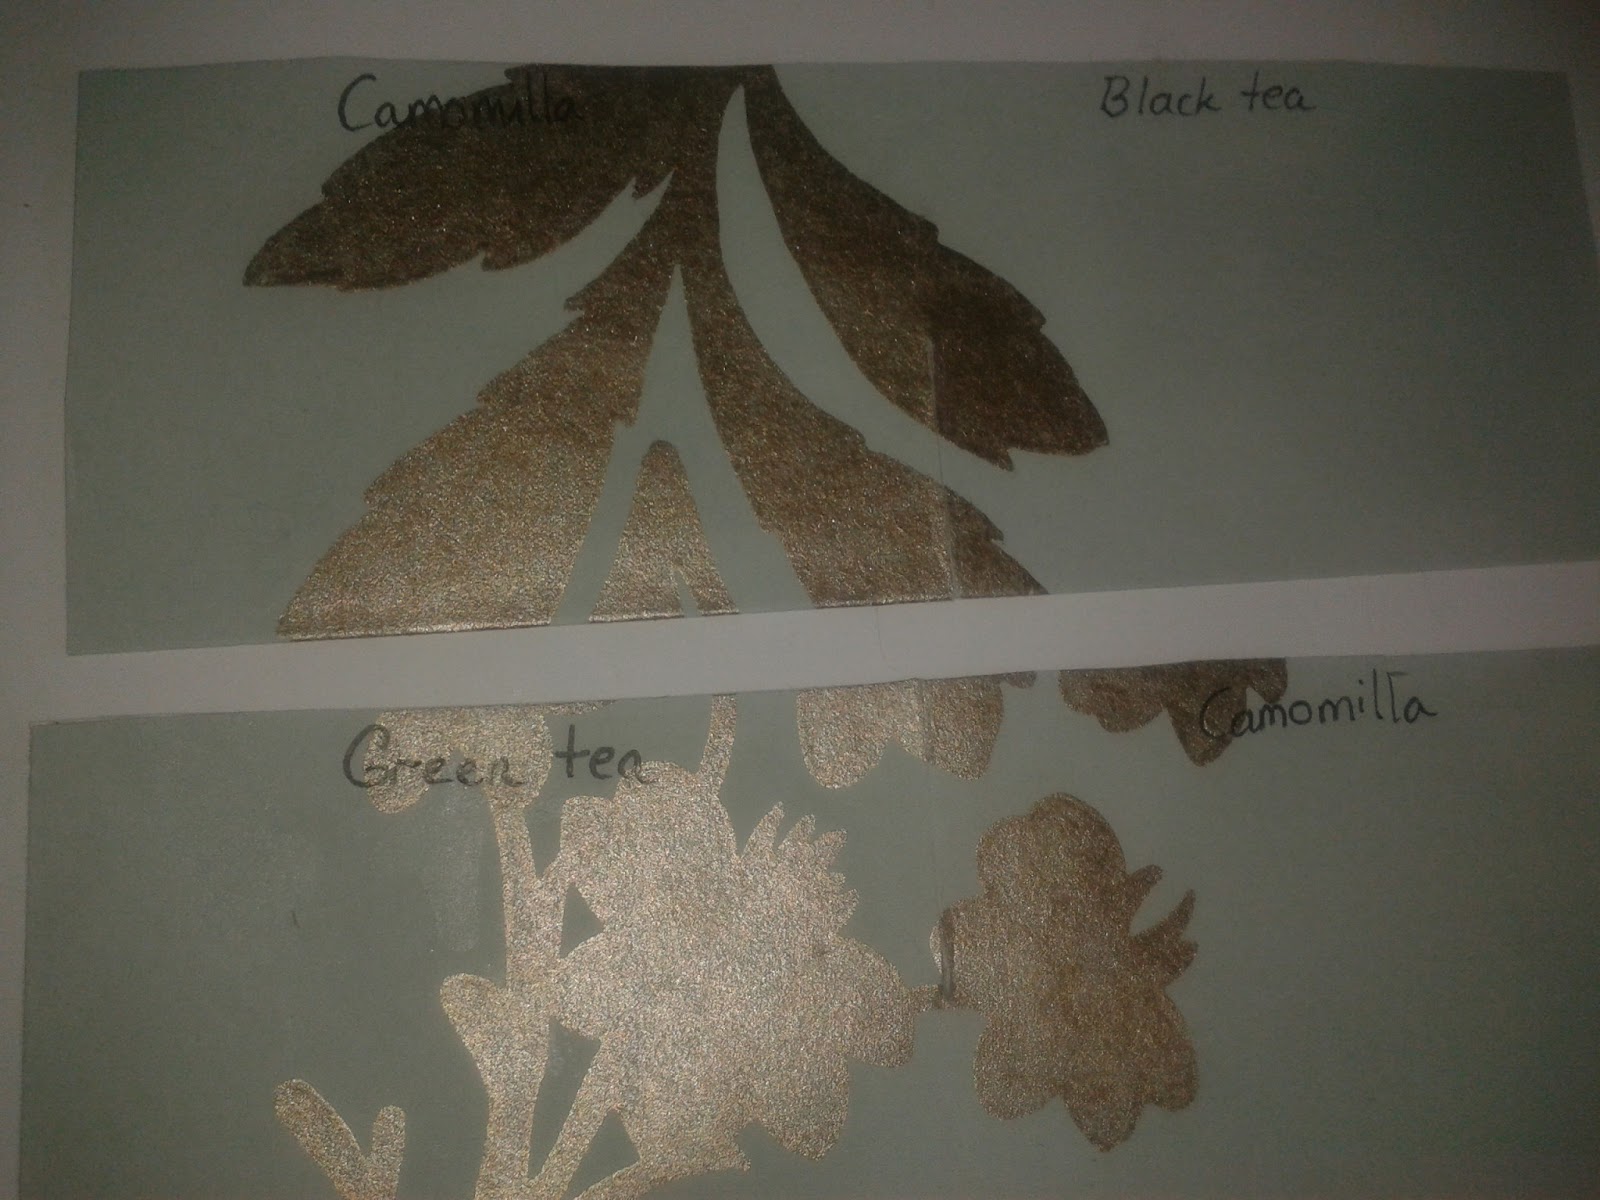
The paper I used for these is wallpaper samples that I had left over from my wedding DIY decorations. In particular the unique ceremony programs:
http://pulmonate.blogspot.it/2011/12/wedding-inspirationceremony-program.html

What you need


2. cutting the toilet role into 1cm thick pieces.

3. Stapling the pairs together


Stapling the pairs with each other, creating our star / flower


The extra step when one is using decorative paper instead of toilet paper roles.


The finished star / flower.

May 26, 2013

DIY _ tin tea box

This is a sweet vintage look DIY tutorial. The good thing about following a tutorial is that someone has tried it before you and can teach you about which mistakes they made. It took me a few goes to get this right, so you can go ahead and do it well straight away!
You'll need:
_ an empty cookie tin 
_ spray paint in 2 colours
_ a piece of card
_ a colourful piece of rigid paper (I used some tapestry I had at home- I ordered a free sample for another DIY project)
_ scissors
_ tea bags

Step 1. Get any dogs or children out of the way. My curious chihuahua was there the whole time :-p


2. Place some paper down in order not to get paint on your floor. I did all this on the balcony as the smell of the paint isn't very pleasant. Spray the tin on the outside. Let it dry completely (follow times given on spray can). I think it's about 20min for touch dry and several hours for complete dry. You only need to do 1-2 layers of your first colour.

Cut out your shape on a piece of card. I got inspiration from an old vintage tea-pot. Place it on the lid and spray with your second colour.

In order to create a division for the different types of tea, measure the diameter of your cookie tin and cut two strips that are l=the diameter of your tin and h= slightly less than the height of your tin. Cut an incision in the middle of both, half way through.

The incision will allow the two pieces of card to fit into each other.

Write the names of the teas. You'll need to think a little bit in order to write it in the correct place. On the left of one strip and the right of the other, so that when they are put together you'll have the name on both sides.


Place the tea bags in their compartments.

Finished result.
 Now, in order not to make the same mistake as me:
1. Chose the right type of paint! a water based paint will not stick to the tin!
2. Wait! Let the paint dry before doing the next layer. I wasn't patient enough
3. Don't paint the inside of the tin! The spray-paint smells for a long time afterwards and is absorbed by the tea. I had to through the first bunch of tea-bags out and do it again.

DIY _ tin candle holders

 This DIY project is very simple. Wash your empty cans and take off the label. You might need to soak it for a short while in order to make it come off completely.
You'll need:

_ tin cans
_ a nail

_ a hammer
_ tea light candle

Take a nail and simply hammer in holes randomly in your tin can. It's easier to get it through if you place the nail in the down-curve of the tin. If you like you can also make patterns (hearts, circles, etc)
When you have enough holes you're done! You can either hang the cans up by threading a string through 2 of the holes or simply place them on your table as they are.
I hung mine up originally but took them down as the wind made them rattle, which was annoying. So now they're simply on the table and they look great. The light is really sweet and romantic and perfect for a DIY event.


June 25, 2012

Wedding Inspiration _DIY flags

 I started making some flags the other day and was overwhelmed by my intelligence! Why hasn't anyone ever thought of this before? Everyone seems to make each single triangle separately, folds the top side and sews it down, threads a string through it to attach all the flags...
BUT there is such an easier way of doing it, and this is where the "geniousness" comes into it.

  • Usually fabrics are sold with a width of about 120-140cm. With 1 meter of fabric you can make 6 (SIX) lengths of flags 1,40. That's a total of almost 8,5m of flags with just 1 meter of fabric. How?
  • Chose a fabric that you like. Either in one colour, multicoloured, etc. The important thing is that it's a steardy material and that doesn't fray. That way you can also avoid sewing around the edges. 
  • Cut the short side of the fabric in 3 parts (this means they will be about 33cm high). 
  • Each strip will become 2 lengths of flags...how?
  • Start cutting zigzag and make sure you don't cut all the way through, leaving 2-3cm on each edge. This is mainly so you won't risk it ripping. 
  • If you want a long length of flags, then simply sew 2 or more 1,40 lengths together. 
  • At the end of your length of flags, simply attach a string so that you can hang it up in a tree, tent, room, etc.


There are many things you can do with your flags. Just leave them as they are for a cute decoration at your wedding, party, name-giving, etc. Write text on each triangle like: Love, Love story, Sweets, Mr & Mrs, thank you, etc etc.

Have fun!