I wanted a personal way to store the confetti at our wedding (as you might've seen by now, I want everything to be personal at our wedding). I was looking for a way to personalize the typical paper cone where guests can put their confetti. I soon had the idea of using the pages of an old book to make the cones. I wanted the meaning of the poems or book to be special to us and also have an important meaning. But that wasn't such an easy task. At one point I thought about taking the easy road and buying an old Shakespeare Romeo & Giuletta book, but then started cringing at myself for its banality. After a while it came to me and I was surprised I hadn't thought of it earlier....
When I first moved to Rome, dad used to send me a new poem about every month. Some were dedicated to me specifically, others were about all kinds of other subjects. When he passed away 3 years ago, I decided to put together a book which I then gave to each of his siblings and other friends of his. So I decided to use these for the cones. I printed them out (6 per page) on an A4 piece of paper. Each square was about 10cm (10,5 x 9,3 to be exact).
This way, dads poems to me have been integrated into our wedding and we could include him in a way without making it way too teary.
The cones will then be presented in a lovely wooden box (which I love) and 3 white paper bags filled with 3 types of confetti: Rice, Lavander, and paper confetti. The guests can make their own mix.
I made about 60 despite we have 90 guests, because I have also made 60 small white flags for people to wave, so I gathered that some people will just have to have one or the other.
The photo above is from the lavender that I dried. I picked quite a big bunch and then it only turned out to be enough to fill about 10 cones. I wanted to go and pick more (wild lavender grows along the roads here) but a few days later the council gardeners had cut them all down. :-(
I also bought this cute wooden calender at the "1 euro store". I'm sure I'll use it as a decoration somewhere.
How to fold the paper in order to get the best looking cone.
* cut out your square pieces of paper. Mine are about 10 x 10 cm.
* turn your piece of paper so that a corner is pointing up
* Take the top corners and place them together, pinching the bottom corners together with eachother too.
* Fold the bottom corner to avoid any holes for the confetti to fall out from.
* Put two staples: one in the bottom and one at the top of where the two corners meet like in the photo below.
The display of the cones filled with lavender, the wooden box and the wooden calender. Cute hey?
July 20, 2012
June 25, 2012
Wedding Inspiration _DIY flags
I started making some flags the other day and was overwhelmed by my intelligence! Why hasn't anyone ever thought of this before? Everyone seems to make each single triangle separately, folds the top side and sews it down, threads a string through it to attach all the flags...
BUT there is such an easier way of doing it, and this is where the "geniousness" comes into it.
There are many things you can do with your flags. Just leave them as they are for a cute decoration at your wedding, party, name-giving, etc. Write text on each triangle like: Love, Love story, Sweets, Mr & Mrs, thank you, etc etc.
Have fun!


BUT there is such an easier way of doing it, and this is where the "geniousness" comes into it.
- Usually fabrics are sold with a width of about 120-140cm. With 1 meter of fabric you can make 6 (SIX) lengths of flags 1,40. That's a total of almost 8,5m of flags with just 1 meter of fabric. How?
- Chose a fabric that you like. Either in one colour, multicoloured, etc. The important thing is that it's a steardy material and that doesn't fray. That way you can also avoid sewing around the edges.
- Cut the short side of the fabric in 3 parts (this means they will be about 33cm high).
- Each strip will become 2 lengths of flags...how?
- Start cutting zigzag and make sure you don't cut all the way through, leaving 2-3cm on each edge. This is mainly so you won't risk it ripping.
- If you want a long length of flags, then simply sew 2 or more 1,40 lengths together.
- At the end of your length of flags, simply attach a string so that you can hang it up in a tree, tent, room, etc.
There are many things you can do with your flags. Just leave them as they are for a cute decoration at your wedding, party, name-giving, etc. Write text on each triangle like: Love, Love story, Sweets, Mr & Mrs, thank you, etc etc.
Have fun!


Labels:
burlap,
cheap,
decoration,
DIY,
easy,
flags,
love,
love story,
make your own,
mr and mrs,
thank you,
vimplar,
wedding decoration
June 16, 2012
Wedding inspiration _ DIY flower girl ballerina dress 2
I previously made a tutorial about how to make this super cute and easy Ballerina Tutu out of tulle. It really is a very cheap and beautiful way to make a sweet skirt, both for kids and for teens. If you chose a different colour tulle it could also be used for a carnival costume. This one is for my beautiful flowergirl, Lima.
I chose a soft tulle with small holes in order to create a softer, more romantic look.
A close up of the ribbons. This photo isn't that clear...But basically I attached the middle of the ribbons to the silk dress right on the seam where the top meets the skirt. 8 ribbons were placed equidistant.
Here's the front of the dress with the tutu attached to the dress.
The back of the dress resembles my wedding dress. It has one layer of silk (the front has 2 layers) and then a layer of lace. The lace has a scallop ending and that part comes out further than the silk creating a slightly see through part. The back of the dress is open in a V shape, just like mine :)
This is the back of the dress. A open V shape just like my wedding dress. The part in the very middle back has an extra elastic allowing it to sit firmly.
So, what do you think? Did I do a good job?
Labels:
ballerina,
bare back,
champagne,
champagne dress,
cute,
flower girl dresses,
flowergirl dress,
lace,
little girls dress,
scallop,
tulle,
tutu,
tyll
May 13, 2012
Wedding Inspiration _ DIY decorations
I made a few things for the wedding yesterday:
- Jars wrapped with burlap and lace
- A headband for the flower girl
- My garter
- Fabric flowers made of felt.
The first photos are of the jars. I used jars that had pasta sauce in them and are about 15cm high. The burlap covers the straight part of the jar and is 6cm wide. I bought a natural white burlap by the meter which is relatively cheap. I then cut it into strips that are 6cm high and the length which corresponds to the circumference of the jar.
The lace I have is a natural cotton lace that I bought at the 1 euro store. So it's 1 euro/m. I also put 2 buttons on each piece of lace. In this case I put 2 wooden buttons that I had at home. All the jars got different types of buttons though.

1. I simply sewed 2 buttons onto the lace. One at the edge of the lace and one in the middle.
The burlap is attached to the jar by glueing the outside of one end of the fabric, wrapping it around and then attaching the opposite end to the first end.
The lace is then also attached to the burlap with glue. I use UHU but I think most glues work just fine unless you are planing on washing the fabric, in that case you'll need proper fabric glue. Start by attaching the end of the lace that doesn't have a button. Place extra glue under the button as it slightly overlaps the first end, hiding it.
2. This is the result of the jars. One has a candle in it and the other has the fabric felt flowers.
I also made my own garter (is that what it's called?). Using the same natural cotton lace as before, some thin champagne coloured ribbon and an elastic.
1. Add a safety pin to the end of the ribbon and weave it into the lace. Make sure the ribbon is slightly longer than the lace.
This is the result of the lace with the ribbon weaved into it on both sides.
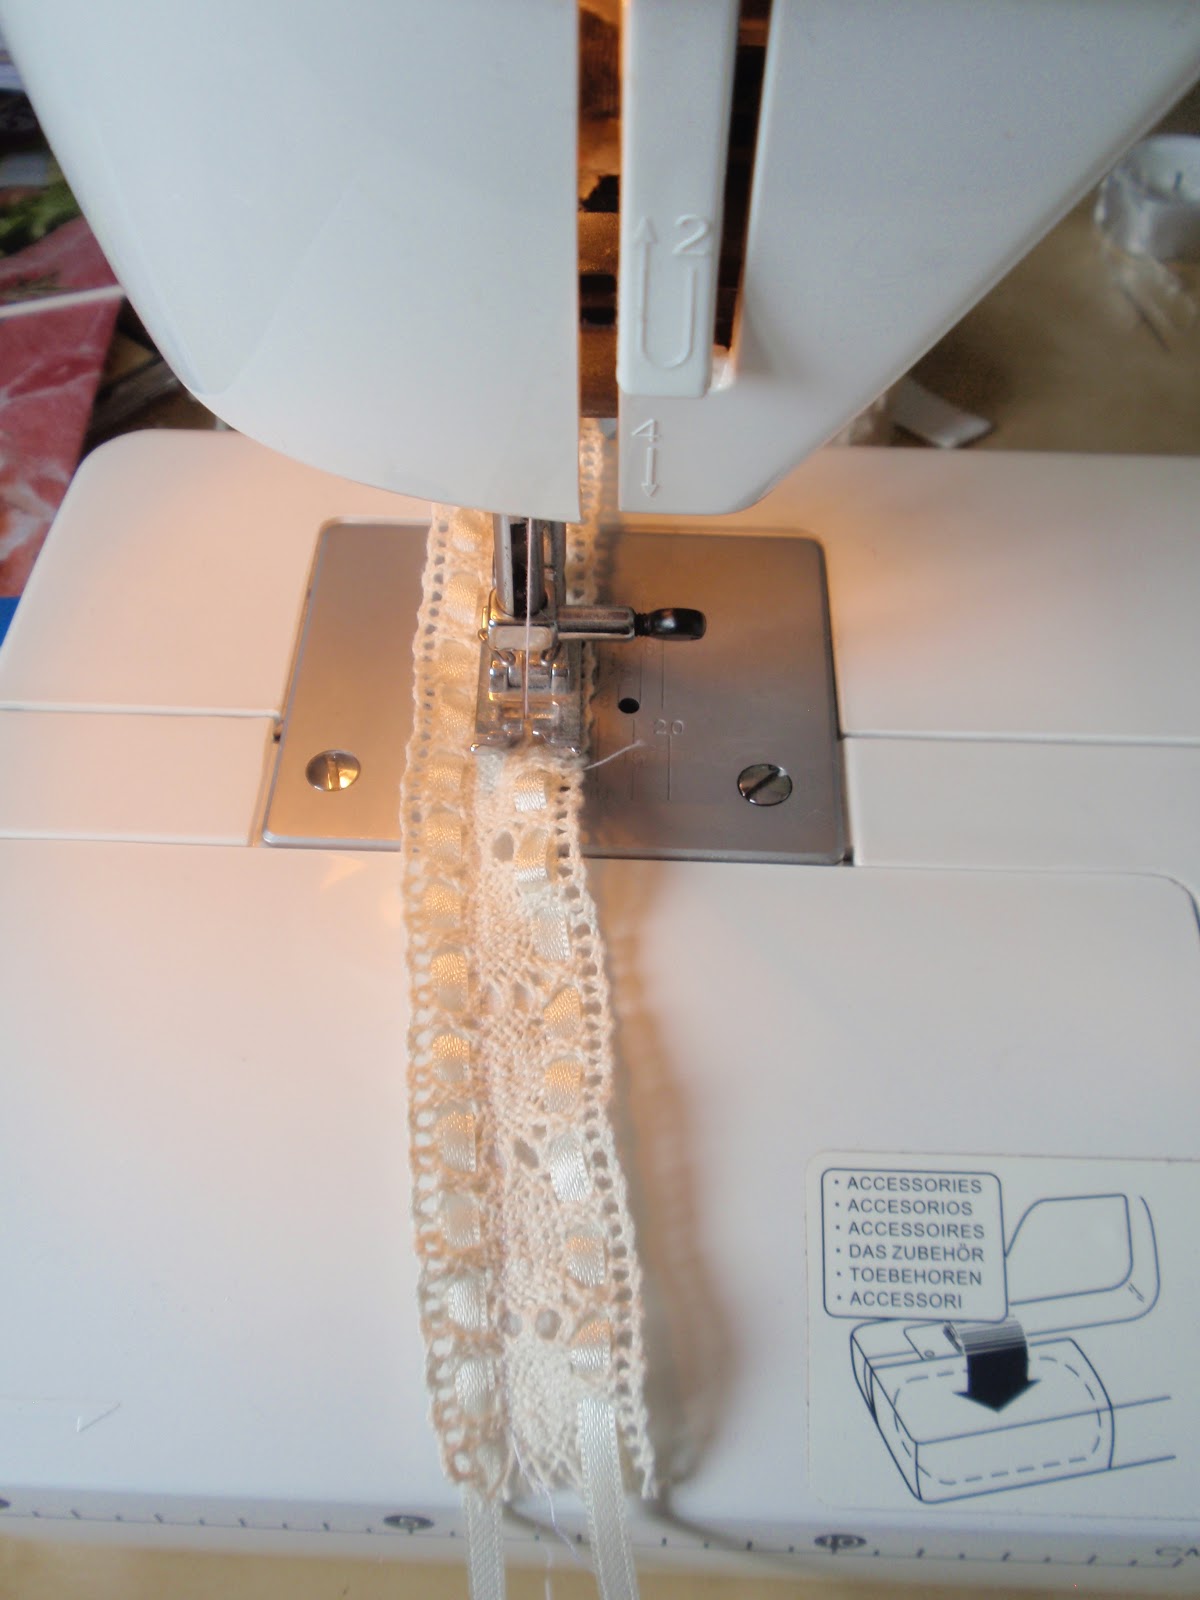
Cut a piece of elastic that is 1/3 shorter than your piece of lace. Mark the middle, 1/4, 3/4 marks on both the elastic and the lace. In order to make the elastic the same length as the lace, obviously you have to pull it. Put pins on these marks and then one inbetween each of the marks.
Sew on the inside of the ribbon with a straight tight stitch. I went down twice. Make sure the ends of the elastic are firmly attached to the lace.
Here it is. My unique vintage garter...
I also made this hair band for the flowergirl. I bought a simple headband and wrapped it with the cotton lace, gluing it at every second turn. The colour of the headband is light pink and you can see that colour through the holes of the lace.
I then also made a felt flower. Cut 2 circles in the size you wish your flower to be. Fold it into the amount of petals you wish to have (mine has 6). This means you're actually just folding it into 3 parts: Fold it in half, then fold one third and then the other third. Cut a arch shape into the folded fabric. Unfold and magic...you have a flower.
I stitched the two layers together and then added the cute button. So now our beautiful flower girl will match many of the other decorations made for the special day.
- Jars wrapped with burlap and lace
- A headband for the flower girl
- My garter
- Fabric flowers made of felt.
The first photos are of the jars. I used jars that had pasta sauce in them and are about 15cm high. The burlap covers the straight part of the jar and is 6cm wide. I bought a natural white burlap by the meter which is relatively cheap. I then cut it into strips that are 6cm high and the length which corresponds to the circumference of the jar.
The lace I have is a natural cotton lace that I bought at the 1 euro store. So it's 1 euro/m. I also put 2 buttons on each piece of lace. In this case I put 2 wooden buttons that I had at home. All the jars got different types of buttons though.
1. I simply sewed 2 buttons onto the lace. One at the edge of the lace and one in the middle.
The burlap is attached to the jar by glueing the outside of one end of the fabric, wrapping it around and then attaching the opposite end to the first end.
The lace is then also attached to the burlap with glue. I use UHU but I think most glues work just fine unless you are planing on washing the fabric, in that case you'll need proper fabric glue. Start by attaching the end of the lace that doesn't have a button. Place extra glue under the button as it slightly overlaps the first end, hiding it.
2. This is the result of the jars. One has a candle in it and the other has the fabric felt flowers.
I also made my own garter (is that what it's called?). Using the same natural cotton lace as before, some thin champagne coloured ribbon and an elastic.
1. Add a safety pin to the end of the ribbon and weave it into the lace. Make sure the ribbon is slightly longer than the lace.
This is the result of the lace with the ribbon weaved into it on both sides.
Cut a piece of elastic that is 1/3 shorter than your piece of lace. Mark the middle, 1/4, 3/4 marks on both the elastic and the lace. In order to make the elastic the same length as the lace, obviously you have to pull it. Put pins on these marks and then one inbetween each of the marks.
Sew on the inside of the ribbon with a straight tight stitch. I went down twice. Make sure the ends of the elastic are firmly attached to the lace.
Here it is. My unique vintage garter...
I also made this hair band for the flowergirl. I bought a simple headband and wrapped it with the cotton lace, gluing it at every second turn. The colour of the headband is light pink and you can see that colour through the holes of the lace.
I then also made a felt flower. Cut 2 circles in the size you wish your flower to be. Fold it into the amount of petals you wish to have (mine has 6). This means you're actually just folding it into 3 parts: Fold it in half, then fold one third and then the other third. Cut a arch shape into the folded fabric. Unfold and magic...you have a flower.
I stitched the two layers together and then added the cute button. So now our beautiful flower girl will match many of the other decorations made for the special day.
Subscribe to:
Posts (Atom)